Interactive videos are a key solution in the market for capturing users’ attention, delivering a personalized experience, and getting desirable actions from them. In contrast to the traditional videos that allow the user to just play & pause, interactive videos offer a wide range of interactions:
- Clicking hotspots to shop or reveal information.

- Answering multiple-choice questions for immersive learning

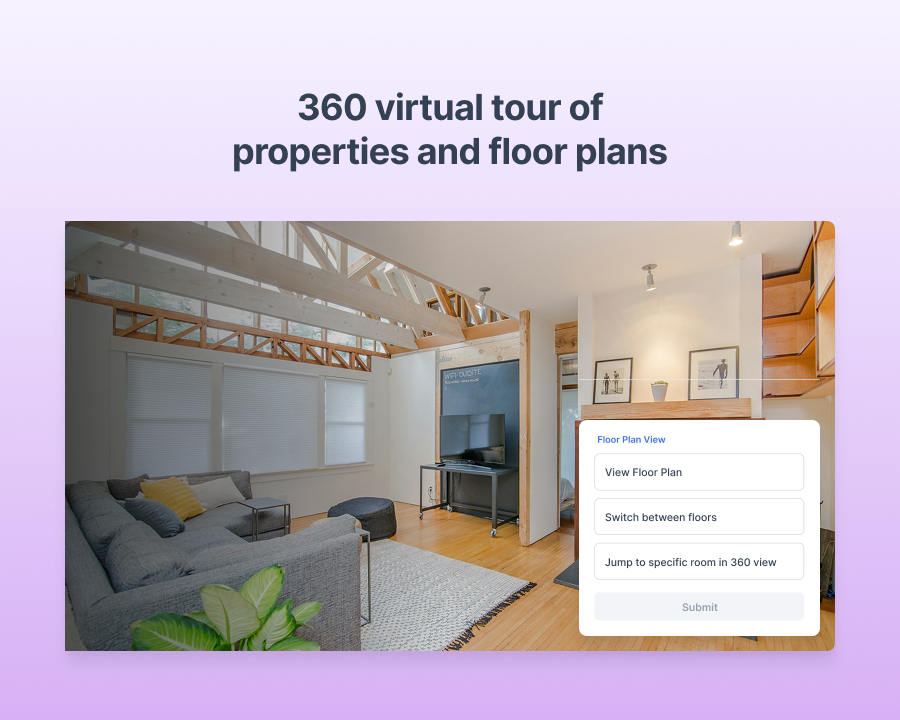
- 360 virtual tour of properties and floor plans

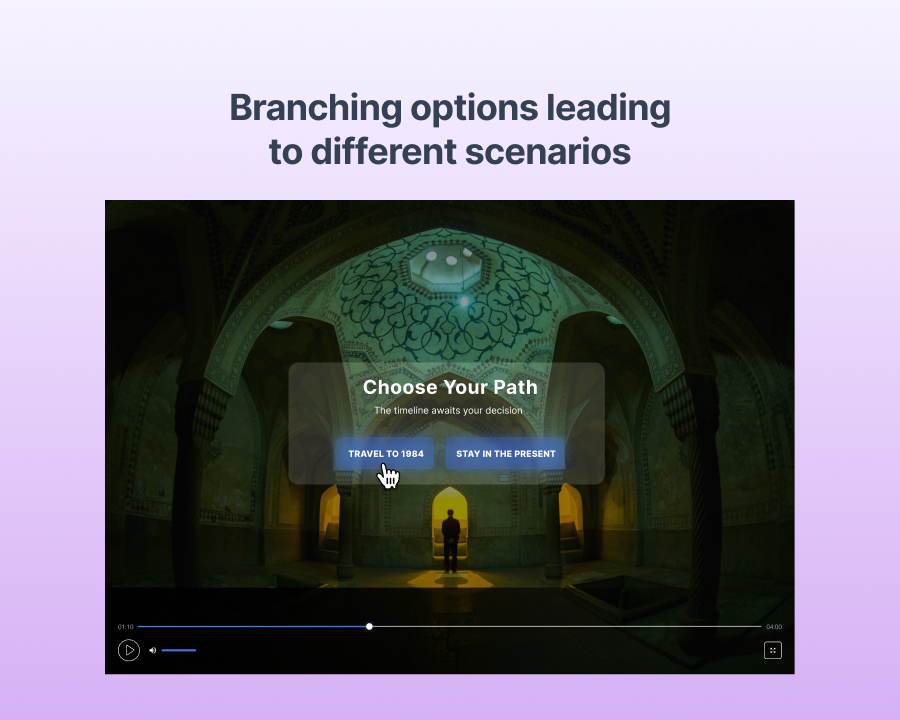
- Branching options leading to different scenarios

In this guide, we’ll learn the process of creating these highly interactive video experiences in KappaX that will have some real impact on your business.
Step-by-Step Guide to Create Interactive Video in KappaX
Step #1: Upload the Media
Upload your videos in MP4 or other video formats, or search through the stock video integrations. KappaX handles both.
Step #2: Pick a Template or Start from Scratch
Choose from ready-to-use, tried & tested layouts for shoppable, narrative, quiz-based, or any other experience or create the UI for the project all by yourself.
Pro Tip: The first 5 seconds matter. Use it well to hook the user wisely.
Step #3: Add Interactive Layers
Drag and drop elements like:
- Videos
- Images
- Text
- Hotspots
- Buttons
- Cards
- Forms
Customize fonts, colors, positions, size, and animations, and create an eye-catching UI layout. Assign all the media assets to the elements and brand them with personalization.
Step #4: Set Actions
Once the UI is finalised, define actions for what happens when someone clicks on a particular element:
- Navigate to a different page or jump to a different timestamp
- Reveal an info pop-up
- Redirect to a link
- Open a form to collect leads
You can follow this article to get an in-depth guide on how to write logic in KappaX.
Step #5: Preview & Publish
Preview the creative in your browser, then publish it. You’ll get a shareable link that you can use to share with your social circle, make it a part of your website, or run ads on it.
Congratulations! You just built your first interactive video.
